
Embarking on a bathroom renovation might appear daunting. The journey from dated decor to polished perfection is riddled with choices, challenges, and sometimes even chaos. With years of experience guiding homeowners through this transformative process, rest assured this guide emanates from a place of seasoned expertise; it’s sculpted to ease the overwhelm and streamline your project.
Renovating your sanctuary of suds can potentially increase your home’s value by approximately 62% of the cost put into the remodel—an enticing statistic for savvy owners considering future resale values.
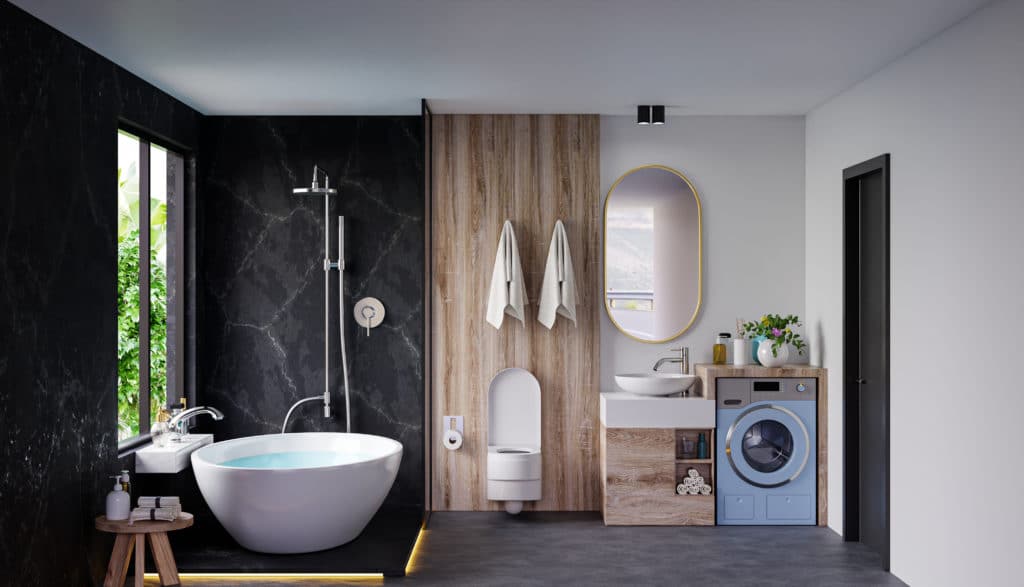
Delve into this step-by-step schedule that demystifies complexities, ensuring you finish with a space that’s both functional and serene. Let the transformation begin!
Step 1: Demolition
Before starting the renovation, it is essential to remove existing bathroom items and clean the walls thoroughly. This will provide a clean canvas for the rest of the renovation process.
Removing existing bathroom items
Clear out your bathroom before any renovation work begins. Start by taking away all the personal items like toiletries, towels, and rugs. Ensure you disconnect and remove any electrical appliances safely to prevent any accidents during the demolition process.
Next, focus on larger fixtures such as the sink, toilet, bathtub or shower stall. You may need tools like wrenches and screwdrivers for this task. If removing tiles is part of your plan, take care not to damage plumbing behind walls or flooring.
It’s crucial to proceed with caution as pipes and wiring can often be hidden just beneath the surface.
With everything removed from your bathroom, the space becomes a blank canvas ready for step two: addressing plumbing and electrical concerns to match your new design ideas.
Cleaning walls
After removing existing bathroom items, the next step in renovating a bathroom is cleaning the walls. Start by thoroughly scrubbing the walls with a mixture of warm water and mild detergent to remove any dirt, grime, or residue.
Use a sponge or cloth to gently wipe down the surfaces, paying special attention to areas around fixtures and corners.
Once the walls are clean and dry, inspect them for any signs of damage such as cracks or peeling paint. Repair any imperfections using spackling compound for small holes or cracks, and sandpaper to smooth out rough patches.
After fixing these issues, apply a fresh coat of paint to give your bathroom walls a clean and polished look.
Step 2: Plumbing and Electrical
It is important to check the existing pipework and update any electrical wiring during this stage of the renovation. This ensures that everything is in good working order before moving on to the next steps.
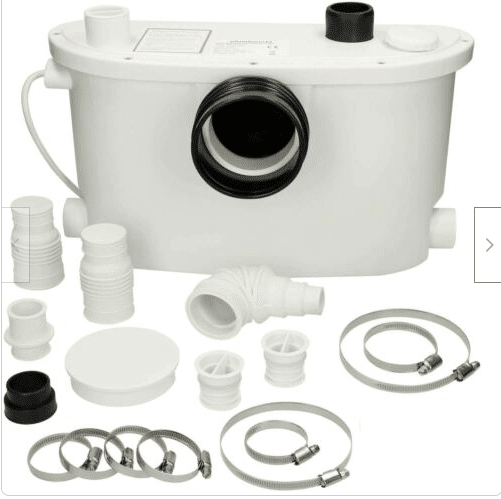
Checking pipework
Inspect the pipework thoroughly for any leaks or signs of corrosion. Look for water stains, dampness, or unusual odours that may indicate a problem with the plumbing. Check all connections and joints to ensure they are secure and properly sealed.
It’s essential to address any issues in the pipework before proceeding with further bathroom renovations to prevent potential damage or future repairs. Engaging a professional plumber is advisable if there are uncertainties about the condition of the pipework.
As part of your home improvement project, be sure not to rush through this step, as it can impact the functionality and longevity of your renovated bathroom.
Updating electrical wiring
Replace outdated wiring with new, safer options to ensure the bathroom is up-to-date and meets safety standards. Consider installing ground fault circuit interrupters (GFCIs) to protect against electric shock in wet areas.
Hire a qualified electrician to handle this task, as it requires specific expertise.
It’s essential to have adequate lighting in the bathroom for various tasks such as shaving, applying makeup, or simply brightening up the space. With updated electrical wiring, you can install efficient LED fixtures that provide ample illumination while saving energy.
This step contributes to both the safety and functionality of your renovated bathroom.
When updating electrical wiring, be sure to consider future needs – adding extra outlets near vanities and mirrors accommodate hairdryers, shavers or charging stations for devices.
Step 3: Flooring and Tiles
After completing the plumbing and electrical work, it’s time to focus on the flooring and tiles. This involves removing old floors and ensuring that the new ones are level before installing new tiles for a fresh look.
Removing and leveling floors
To start the bathroom renovation, clear out the existing flooring by removing tiles and old materials. Next, inspect the subfloor for any uneven areas or damage. Use a leveling compound to even out any imperfections in the floor surface.
Finally, ensure that the floor is clean and smooth before proceeding with installing new tiles or other flooring materials.
When updating your bathroom space, be sure to take into account whether you will be conducting this step on your own or if you require assistance from a professional in order to get expert results.
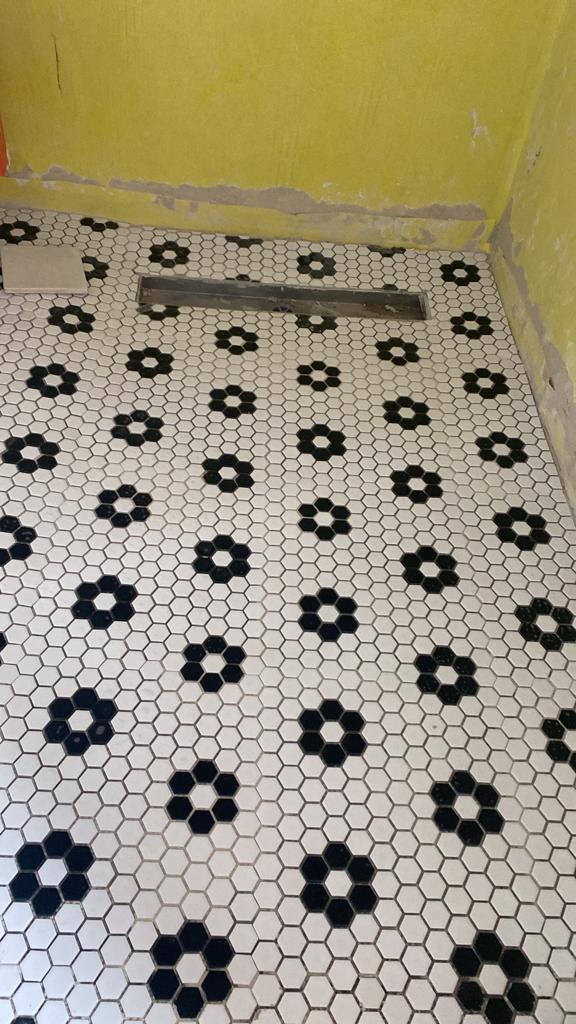
Installing new tiles
After removing and leveling the floors, it is time to move on to installing new tiles. Begin by preparing the surface for tiling, ensuring it is clean and level. Apply adhesive to the floor, then carefully lay each tile in place, making sure they are evenly spaced.
After allowing the adhesive to set, grout can be applied between the tiles for a polished finish.
Completing this step will not only elevate the aesthetic appeal of your bathroom but also provide a durable and easy-to-maintain flooring solution. With a plethora of tile options available today, homeowners can easily find a style that complements their overall design scheme.
Step 4: Furniture and Fixtures
Installing cabinets and countertops is the next step in transforming your bathroom. Once that’s done, mounting light fixtures will help to illuminate and enhance the space.
Installing cabinets and countertops
To install cabinets and countertops, begin by measuring the available space accurately. Next, choose the right materials and designs to complement your bathroom decor. Mounting the cabinets involves attaching them securely to wall studs using appropriate screws or brackets for stability.
Countertops can be installed directly on top of cabinets or as standalone units, ensuring a secure fit and sealing any gaps to prevent water damage.
After aligning and securing the cabinets in place, focus on fitting and installing the countertops onto them. This entails cutting holes for sinks or faucets if necessary and applying a suitable adhesive to affix the countertops firmly into position.
Mounting light fixtures
The process of mounting light fixtures involves carefully positioning and securing them in place. First, mark the desired locations for the fixtures on the ceiling or wall, ensuring they are evenly spaced and aligned with other elements in the bathroom.
Then, use appropriate tools to attach the fixtures securely, such as screws or brackets according to the manufacturer’s instructions. Once installed, connect the wiring following safety guidelines and regulations to ensure proper functionality.
Finally, test the newly mounted light fixtures to guarantee they provide adequate lighting for different areas within your renovated bathroom.
As part of your bathroom renovation project plan, consider including time for selecting and installing suitable light fixtures that complement your overall design aesthetic and provide sufficient illumination where needed.
Step 5: Finishing Touches
After all the major renovations have been completed, it’s time to add the final touches to your bathroom. This includes installing shower fixtures, adding towel warmers and other accessories, and conducting a final clean and inspection.
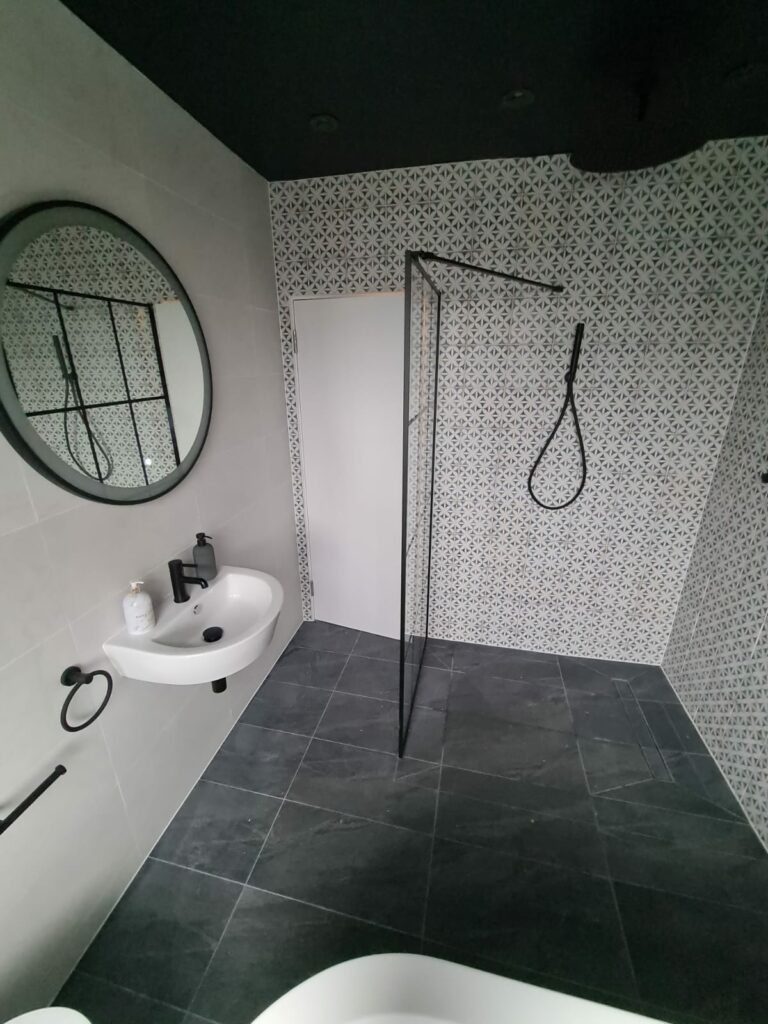
Installing shower fixtures
To install shower fixtures, first, ensure the water supply is turned off. Use a pipe wrench to disconnect the old fixture, and clean the area thoroughly. Apply plumber’s tape to the threads of the new fixtures before installing them onto the pipes.
Tighten with a wrench until snug but be careful not to over-tighten as it can cause damage.
Next, attach the decorative caps or plates and turn on the water supply briefly to check for any leaks. Once confirmed that everything is secure and leak-free, seal around the edges of each fixture with silicone caulk for a finished look.
Adding final touches (towel warmers, accessories)
Once the major elements of your bathroom renovation are in place, it’s time to focus on the final touches that will enhance both its functionality and aesthetic appeal. Installing a towel warmer can add a touch of luxury while keeping your towels warm and dry.
Consider also adding accessories such as towel hooks, shelves, and decorative items to personalise the space and create a cohesive look. These finishing touches can elevate the overall design of your bathroom and make it feel complete.
In addition to functional elements, consider incorporating stylish yet practical accessories like soap dispensers, toothbrush holders, or waste bins to streamline the appearance of your bathroom.
Selecting coordinating pieces that complement your chosen style will contribute to a cohesive and polished finish for your renovated space. Prioritise these details during this stage of the process as they bring together all aspects of your renovation into one harmonious space that you’ll love using every day.
Final clean and inspection
After adding the final touches, it’s time to carry out the final clean and inspection. Start by removing any debris and cleaning up the workspace, ensuring all surfaces are free of dust and dirt.
Inspect the newly renovated bathroom carefully for any imperfections or overlooked details. Test all fixtures, ensure everything is functioning properly, and make any necessary adjustments before declaring the renovation complete.
Conclusion
Step 1: Demolition
Removing existing bathroom items and cleaning walls is the first step in the renovation process.
Step 2: Plumbing and Electrical
Checking pipework and updating electrical wiring are crucial for safety during a bathroom renovation.
Step 3: Flooring and Tiles
Removing and leveling floors as well as installing new tiles are key aspects of renovating a bathroom.
Step 4: Furniture, Fixtures, & Lighting
Installing cabinets, countertops, mounting light fixtures ensures functionality and aesthetics in your renovated bathroom.
Step 5: Finishing Touches
Installing shower fixtures, adding final touches like towel warmers, accessories alongside a final clean-up before inspection conclude the renovations to your bathroom.